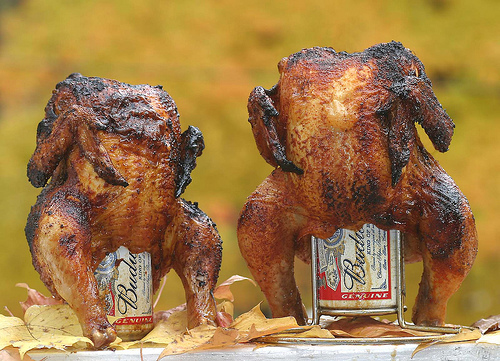
I don’t quite have all of my Super Bowl pictures put together yet, but sometime today or tomorrow I’ll have recipes and pictures for everything I made. For now, here’s a list of products I swear by and that are found in my kitchen. Oh, and keep in mind that I don’t bake. Ever.
Shun 8″ Chef Knife
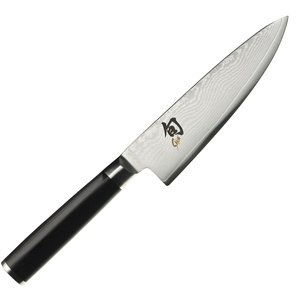
I receieved this knife for Christmas and it is incredible. Cuts like butter, and includes a lifetime warranty. Price tag is $129.99, but is well worth it. If you’re serious about cooking you have to have a good chef’s knife.
Cuisinart Food Processor
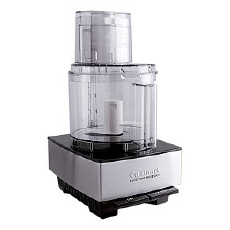
I have owned a cheap food processor for the longest time, and I get exactly what I paid for. Spend a few dollars if you’re going to purchase a food processor and you will not regret it. A lot of people prefer the KitchenAid processor, but from experience and research I really have grown fond of the Cuisinart brand. The 7 cup one will do you just fine for anything you need to do in your kitchen.
Cuisinart DLC-10S Pro Classic 7-Cup Food Processor $99.95
Toaster Oven
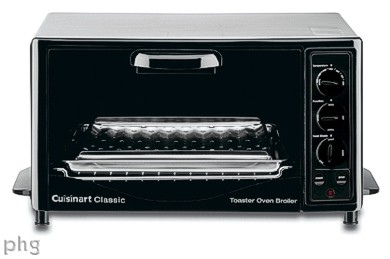
I purchased a toaster oven a few months ago, and can count on one hand how many times I have used my microwave since. Even toaster ovens that are lower in price have so many functions. They can be used to make anything from rotiseree chicken to pizza, you can roast your vegetables in them (great for roasting garlic), and even heat up left overs so they don’t get all soft and nasty like in the microwave. I currently have an Oster brand oven, and would reccomend sticking with a lower priced model.
Oster 6290 6-Slice Toaster Oven $57.99
Stainless Steel Pans
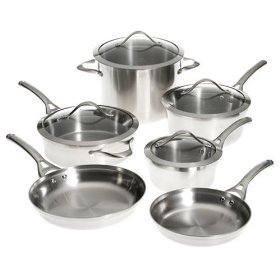
I have a few teflon non-stick pans, but I do about 90% of my cooking in a stainless steel cookware. The few instances I use a non-stick are for things like eggs, pancakes, or fish. I prefer stainless steel for just about every thing else. Steel is especially good when searing meat, or any time you want a nice golden color on something. If you want to make a gravy or pan sauce, the process of which involves deglazing the pan, stainless steel is definately better.
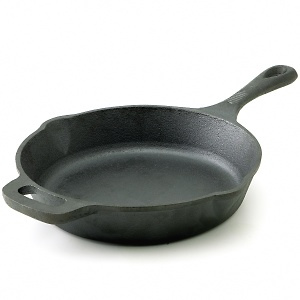
Speaking of cookware, you should always have a cast iron skillet in your kitchen. These things last forever, and can withstand HIGH temperatures. They are perfect for searing meats, frying, and many other things. They also develop a natural non-stick surface which can take the place of your teflon. You can get a good, quality one from your local hardware store, but it will require seasoning before use. If you don’t want to mess around with that, they also well pre-seasoned ones at any place kitchen supplies are sold for a few extra bucks.
A few more odds and ends…
- Gas Stove – I’ve lived in apartments since I turned 18 so I’ve had to settle for mostly electric stoves. Gas stoves give you the ability to control the heat of your food much better than electric and are just better, damnit. I’m a little bitter about this.
- Kosher Salt – You should never be cooking with table salt. Get a box of kosher salt keep it handy for cooking
- Spices – Look around your area for a shop that sells fresh spices. If you have to use the store bought, that is fine, but I promise you will notice a difference if you buy fresh. If you live in the Ypsilanti/Ann Arbor area, make sure you check out Spice Merchants in Kerry Town.
- Thermometers – I always keep an insta-read for meat, and a normal thermometer. If you’re just starting off, you NEED one of these to determine the temperature of your meats.
- No Garlic Press – I don’t have any explanation or scientific research for this, but I never use a garlic press. Anthony Bourdain once said “I don’t know what comes out of a garlic press, but it sure isn’t garlic”. If you’ve seen Goodfellas, you should remember the scene of them cooking pasta sauce in prison. Take your Shun and slice the garlic paper thin.
- Heat-Resistant Spatulas – For some reason, stores still sell spatulas that melt under high heat. Make sure if you are purchasing them, you make sure they are heat-resistant.
- Meat Tenderizer – There are endless amounts of ways to tenderize meat, but I stick the good ol’ hammer looking model. They are cheap, and get the job done.
- Stocked Kitchen – There are certain ingredients you should always have in your kitchen. Here is the best list I could come up with:
- Basil
- Oregano
- Chili powder
- Cayenne pepper
- Paprika
- Seasoning Salt
- Garlic Power
- Red Pepper (i like the red pepper flakes)
- Cilantro (i like to use fresh but i don’t always have it laying around)
- Black pepper grinder (NEVER the pre-grinded pepper)
- Garlic
- Lemon juice
- Dried mustard
- Olive oil
- Vegetable oil
- Parmesan cheese
- Soy sauce
- White sugar
- Brown sugar
- Tomato paste
- Canned diced tomatoes
- Chicken and beef stock
- Vinegar