Category: My Recipes

  • Fall is in the Air

    Here in Michigan, there really isn’t any such thing as a designated “seasons schedule”.  Our weather is absolutely out of control.  At anytime you could experience any season, possibly multiple seasons in one day.  I’ve woken up to mornings where my car windows are frozen and require scraping, by noon it’s 80 degrees, and at night there’s a thunderstorm.  This past winter we had days where it was -10 degrees.  My pipes burst.  This past summer we had days where it was 105 degrees, which would be great if we had A BEACH.  All I ask for is consistency.  Is that too much to ask?

    One season that I do enjoy is Fall.  This is the time in between Summer and Winter where the air turns brisk and the leaves change color.  I don’t even know what it is about the leaves changing color that’s appealing to me.  Doesn’t this mean the leaves are dying?  Plus, a few days in there’s a gust of wind and we’re left with sticks until Summer.  Regardless, Fall is my season.

    Yesterday, Stephanie and I woke up to the following view outside of our living room window, and decided it was time to partake in some “Fall activities”.

    IMG_1106

    (more…)

  • The Timpano

    After a rough couple of days filled with exams and work, I am back with something very special.  I had a few people over for the Michigan vs. Michigan State game this past weekend, and decided that I was going to cook.  Actually, not just cook, but go all out.  It’s been a while since I actually threw something together that isn’t fajitas, or spaghetti.  A week or so ago, I shared with you one of the most beautiful creations I have ever seen, the Timpano.  I’ve been trying to shed some of the pounds that this damn blog has added to my frame, so food like this has literally become pornography for me.  It just so happens that as of this week I have lost 20 pounds, so it became time to waste all of the hard work that I have put in.  The Timpano was on.

    I first saw one of these one The Food in my Beard.  That guy makes this entire thing from scratch.  I’m just not that motivated.  Most of what you see here is store bought.

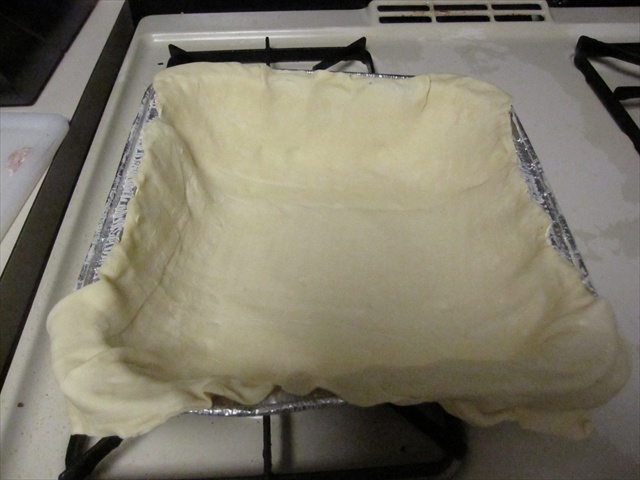
    First, I rolled out a puff pastry and lined the bottom of a pan with it.  Make sure you put plenty of butter along the bottom or this thing isn’t coming out.
    IMG_1060

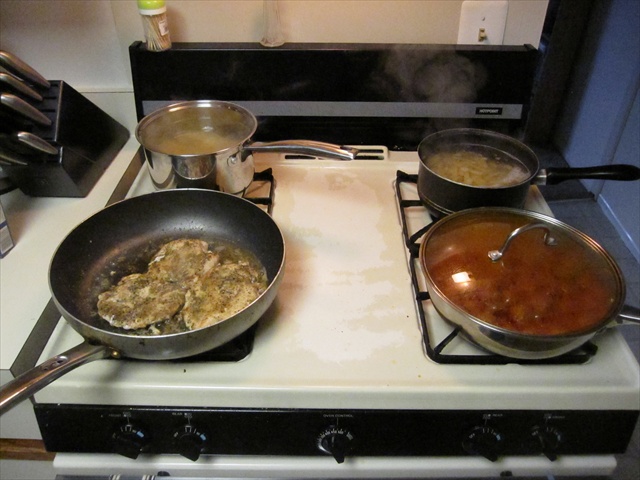
    Next, it was time to start cooking.  You’re looking at chicken, meatballs cooking in marinara, two types of pasta(rigatoni with white sauce, spaghetti with marinara), and mozzarella sticks are out of site in the oven.
    IMG_1062

    I wanted to make chicken parm, but like an idiot I forgot to pick up bread crumbs.  Instead I seasoned the hell out of the chicken and drudged it in flour to give a little bit of crisp.
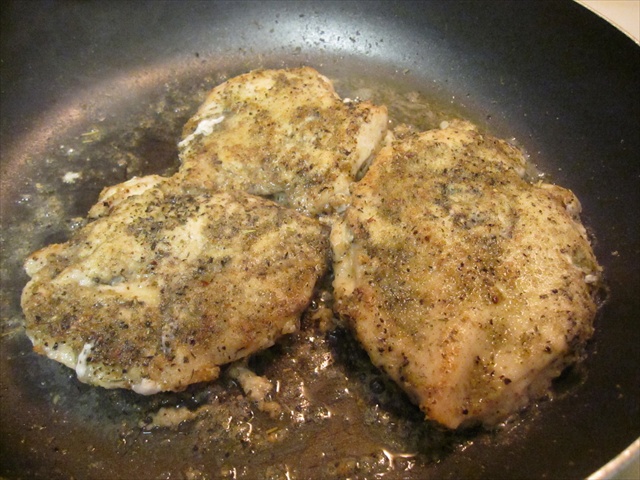
    IMG_1061

    The meatballs were frozen store bought, but cooking them in a good red sauce makes them VERY tasty.  I wouldn’t ever recommend cooking these guys in the oven.
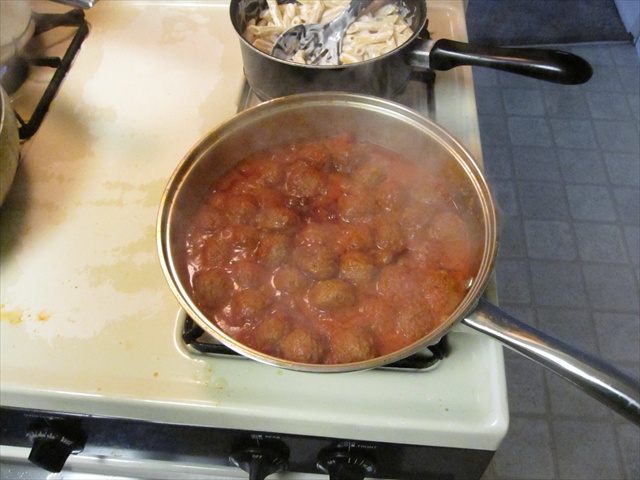
    IMG_1064

    Time to start layering.  Started off with the rigatoni with the white sauce.  Once you finish cooking this in the oven and dump it out of the pan, this is going to be your top layer.  Make sure you are pressing down on the top of each layer.
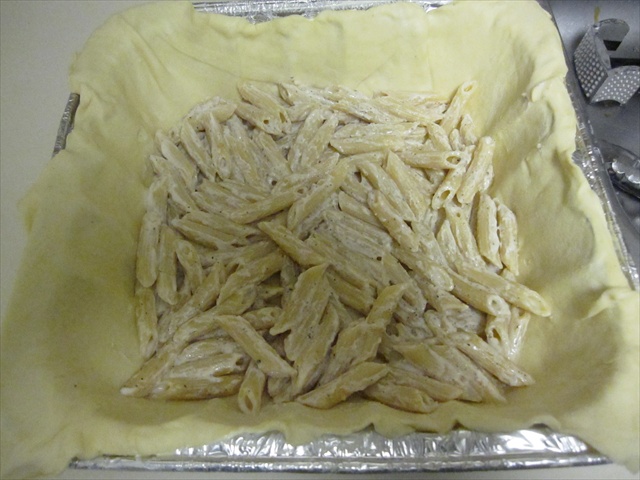
    IMG_1065

    Next I lined the meatballs up on top of the rigatoni.  Like a real genius I forgot to get it on camera until I had begun adding the spaghetti.  The spaghetti goes on top of the meatballs.  See?
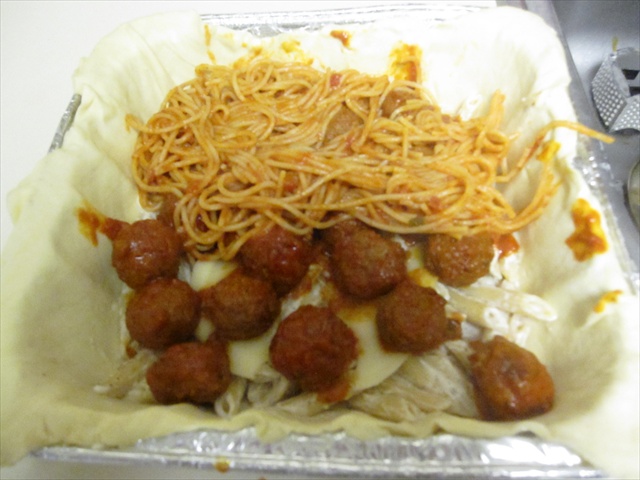
    IMG_1066

    After the layer of spaghetti I threw on the mozzarella sticks.  I would never make a Timpano without these.  Man they were tasty.
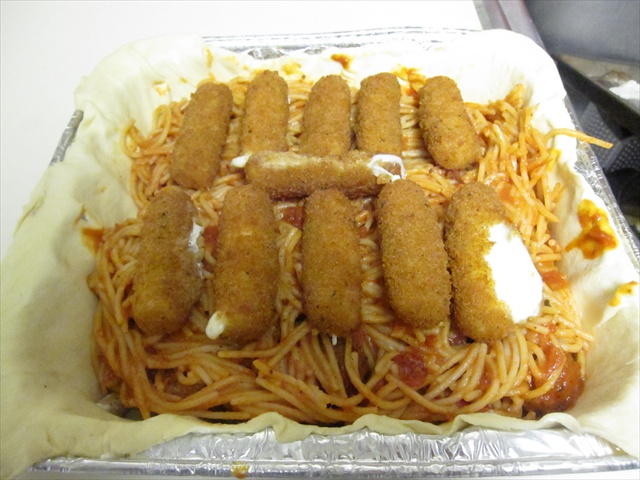
    IMG_1067

    Next I added the chicken breasts and realized that my layering was off.  Whoops!  Better luck next time.  I also threw on a few slices of provolone.  Why not?
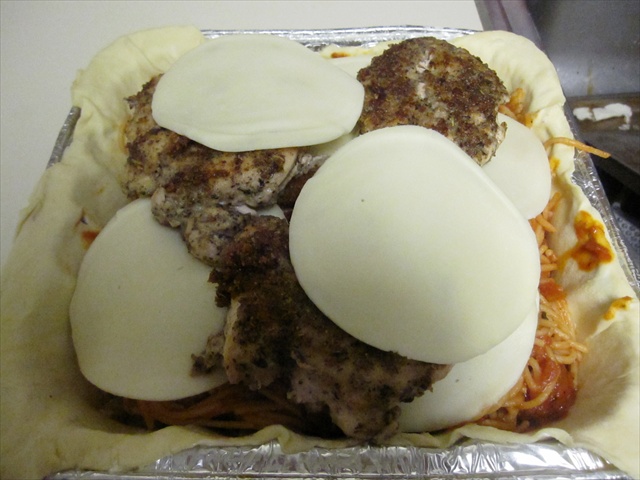
    IMG_1068

    Another sheet of rolled puff pastry, and this thing is done.
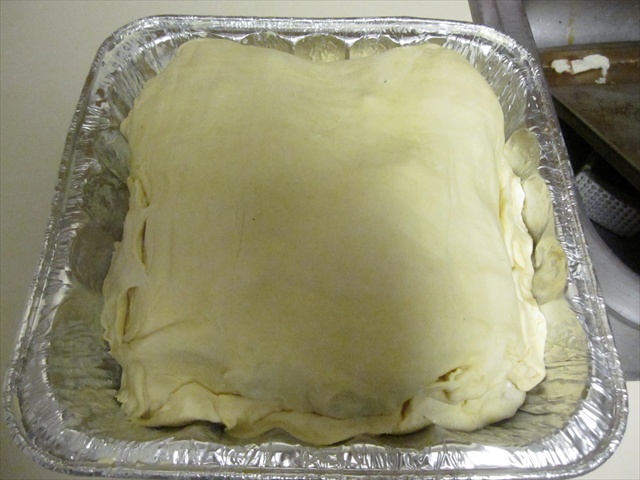
    IMG_1069

    Cut some slits in the top and into the oven for about an hour on 375 degrees.
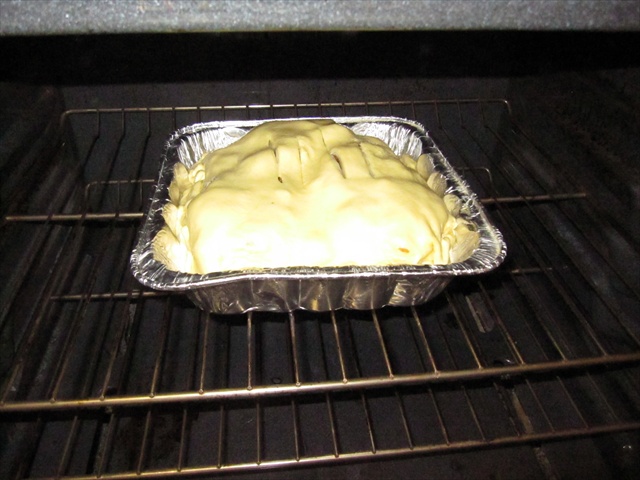
    IMG_1070

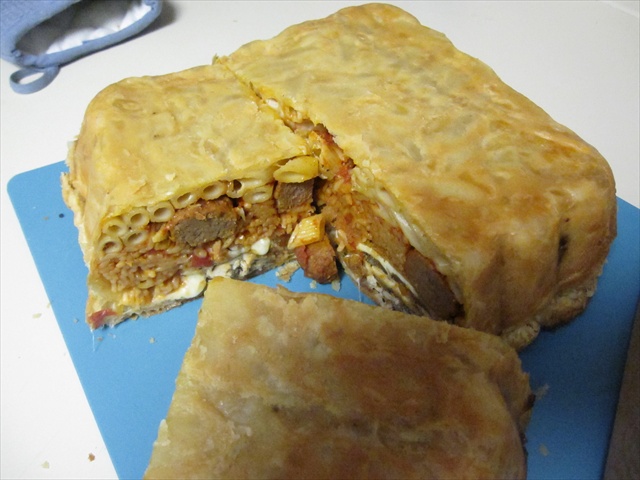
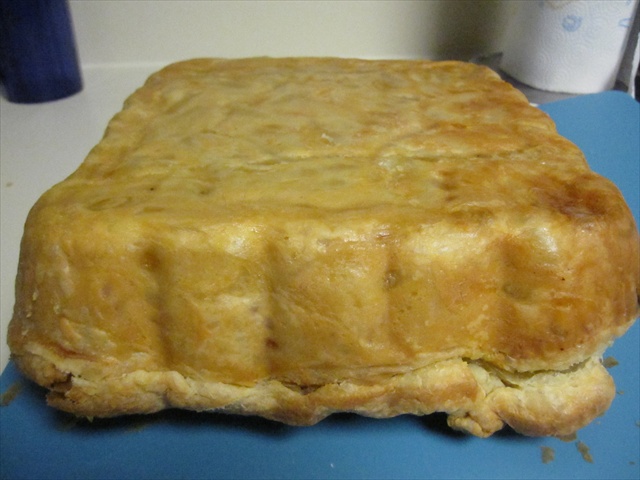
    I have no words for what you are about to see.
    IMG_1071

    IMG_1074

    IMG_1073

    IMG_1076

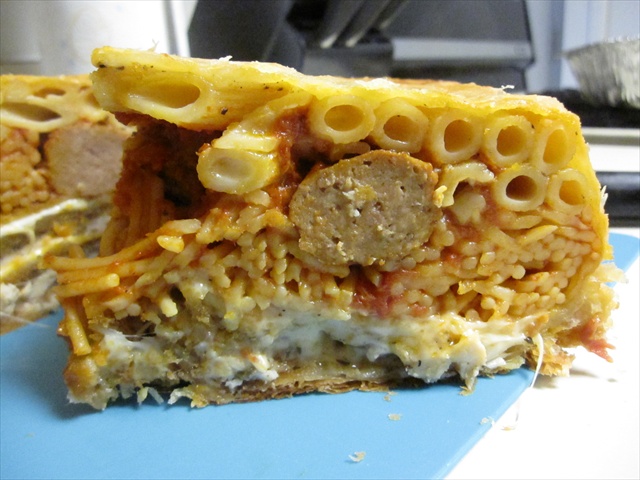
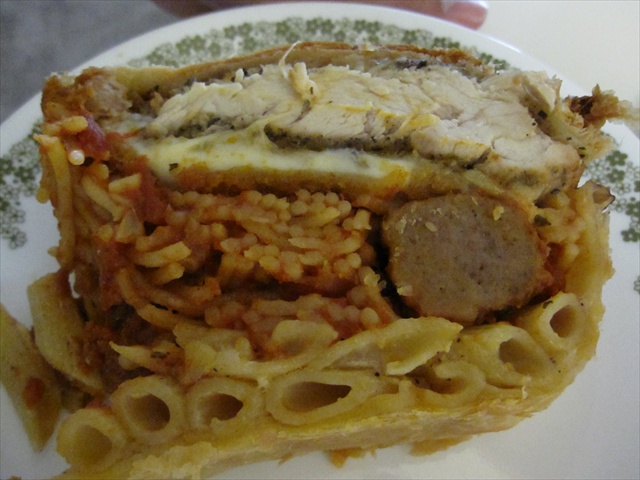
    This thing was incredible.  See all that white gooeyness at the bottom?  That’s mozarella sticks and provolone melted over chicken.  I really think you could stuff anything inside of this and it would be delicious.
  • Todd’s Chili Recipe

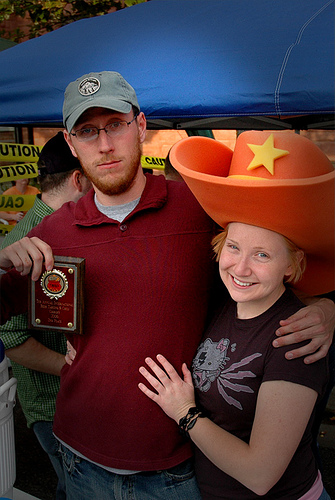
    Award Winning Chili!
    Award Winning Chili! Photo courtesy of Jeff Engstrom, one awesome photographer: Jeff Engstrom is one awesome photographer: http://www.flickr.com/photos/antiapathy/257660605/

    So a few days ago I posted a little about the glory of competitive chili making.  Today I am posting our recipe – Todd and Matt’s Chili (prep time: 1:15, cook time: 3 hours).

    To begin with, you’ll need a super sharp knife, and a very, very large pot (preferably a turkey fryer).  If you don’t have a turkey fryer, start this concoction in even portions in two large pots (with covers) that you can later combine together after reducing for about an hour – this is what I often end up doing.  You’ll also need quite a shopping cart.

    The Goods

    Begin with the veggies

    • 3 large onions – I’ve also done 4-5 small ones.  I like to include one red, one yellow, and one white for effect.
    • 4 large green peppers.  Can also substitute other colored peppers for effect (but more $$).  The heat does not come from the peppers.
    • 7 gloves of garlic (one bulb should do fine).
    • About a half cup of cilantro (One bunch from the store will easily do).
    • 66 oz of canned diced tomatoes – they simmer well.  I’ve tried stewed tomatoes and they don’t work as well.  This is basically two large cans (26 oz) and one small can (14.5 oz).
    • Two cans (32 oz) pinto beans.
    • Two cans (32 oz) black beans.
    • Two cans (32 oz) kidney beans.

    The meat

    • 4 lbs of a relatively lean steak – I recommend bottom round, london broil, or even sirloin if you feel like getting fancy.  Stay away from the crappy pre-cubed ‘stewing meat’ you’ll often see.  That’s probably the crap that fell on the floor.
    • This could also become a vegetarian dish if you simply 1) do not put in the meat, thereby removing all flavor and 2) rip out your canine incisor teeth.   Then just kill yourself.  Don’t do that.  I didn’t mean that.  This cannot become a vegetarian dish.  At least – if you’re going to make it a vegetarian chili – don’t tell me.

    The good stuff

    • One beer – preferably a darker beer.  I try to use a stout or porter.  This not only adds liquid, but adds a bit of complex flavor to the mix.  Save a few more for yourself.
    • Four tablespoons ground Cumin – try to get this fresh from a bulk spice store.
    • 6 tablespoons of Chili Powder.
    • 2 1/2 teaspoons kosher salt.
    • 2 teaspoons freshly ground black pepper.
    • 3 tablespoons of balsamic vinegar.
    • Crushed red pepper (to taste).

    After you’ve dislocated your shoulders carrying all these goodies home, get your sharpest knife…and sharpen it.  Then sharpen it again.

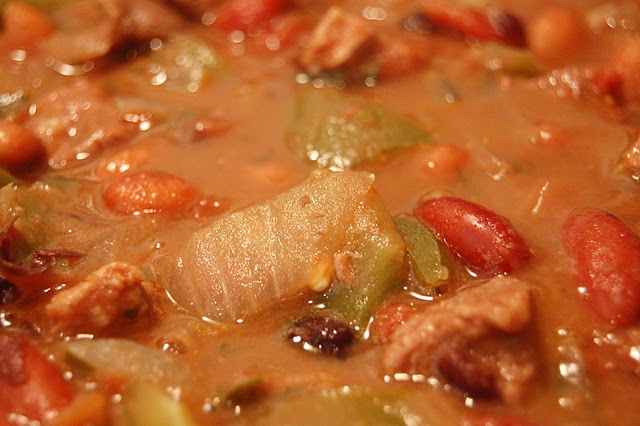
    _DSC0102.JPG
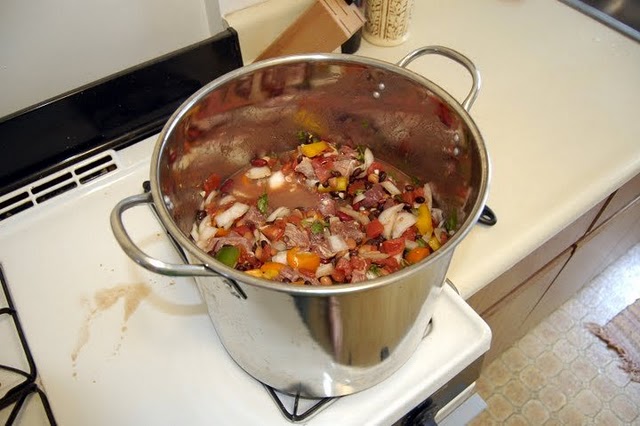
    Colors start out vibrant…

    The Process

    1. Chop meat into 0.75 – 1 inch cubes (nice and chunky)!  Remove as much fat as possible – the worst is running into a nasty hunk of fat in the middle of your chili.  Throw it all in the bottom of the pot.
    2. Roughly chop onions and peppers (remove pepper seeds and ribs) and combine in pot.
    3. Finely chop cilantro – about half a bunch – and add in pot.
    4. Empty all beans from cans into strainer and wash thoroughly.  Add to pot.
    5. Empty canned tomatoes into pot.
    6. Crush (or very finely chop) garlic and add to pot.
    7. Add beer to the pot.
    8. Turn on your burner to medium and mix pot thoroughly.  Put pot cover about 3/4 of the way on.
    9. Cook on medium for 1 hour, mixing thoroughly every 10 minutes.
    10. Add balsamic vinegar and cook for another 2 hours. If you’ve got more than one pot, determine when you can combine into one big pot after all the vegetable juices have reduced.
    11. Add all spices, dust the top of the chili with cracked red pepper  and mix thoroughly.  The red pepper is  where virtually all of the chili’s heat comes from – add this slowly and to taste.  DON’T RUIN A GOOD CHILI BY DUMPING IN TOO MUCH RED PEPPER!  Adding spices at the end of cooking makes sure that, 1) the spices don’t burn – this happened during an early batch and tastes gross, 2) that the spices don’t change flavor – sitting over 3 hours on a flame can change how cumin tastes, and 3) that you can control the level of heat in your chili.
    12. Remove from heat.
    13. Serve that summabitch piping hot – sprinkle cheese and sour cream on top.  Add a tortilla on top for effect.
    14. Enjoy the best chili ever.
    DSC_0125.JPG
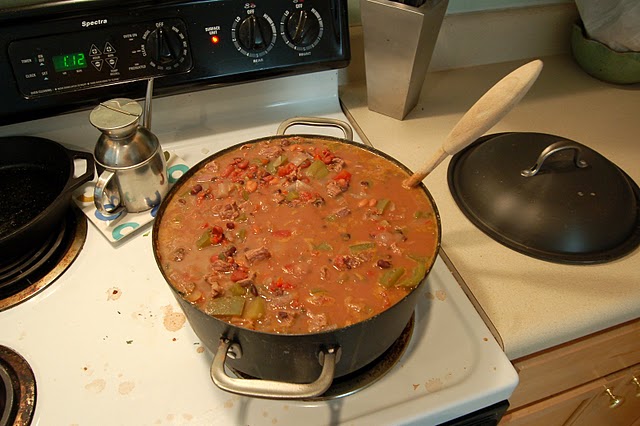
    …and dull during cooking.

    So you’ll start out with a huge bubbling pot…

    DSC_0127.JPG
    See what I mean about combining the two pots together? Gets a little difficult with only one big pot.

    Which will reduce significantly over the course of 3+ hours…

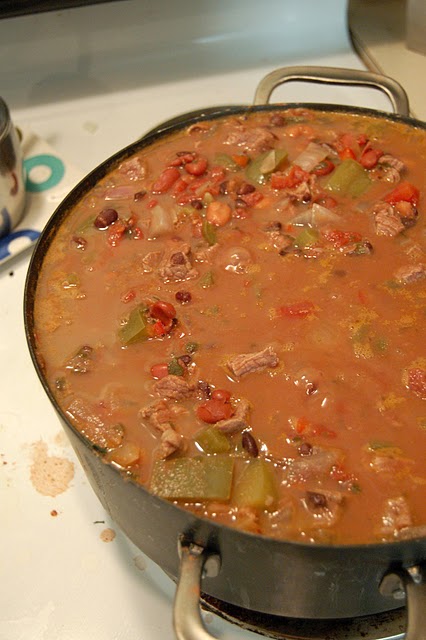
    DSC_0138.JPG
    Here you can see the reduction within the chili

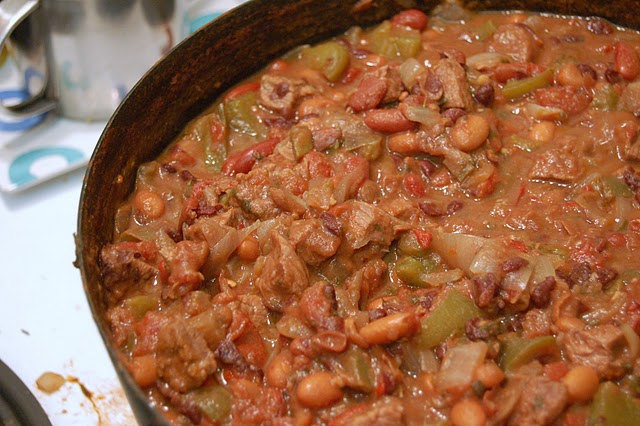
    Finally, you’ll be left with a warm, bubbly pot of hot chili goodness.

    DSC_0130.JPG
    Don't worry about browning meat before hand – it'll all cook together over 3 hours. Mmmmm.

    Hope you all enjoy!  Please leave your comments and ideas for improvements!

    259383091_505c586111
    The taste of sweet sweet victory can be yours! Photo courtesy of Jeff Engstrom – again, one great photographer/urban planner/gentleman/scholar/husband to an award winning teacher (Shoutout Karoliina!): http://www.flickr.com/photos/antiapathy/257660605/