

Award Winning Chili! Photo courtesy of Jeff Engstrom, one awesome photographer: Jeff Engstrom is one awesome photographer: http://www.flickr.com/photos/antiapathy/257660605/
So a few days ago I posted a little about the glory of competitive chili making. Today I am posting our recipe – Todd and Matt’s Chili (prep time: 1:15, cook time: 3 hours).
To begin with, you’ll need a super sharp knife, and a very, very large pot (preferably a turkey fryer). If you don’t have a turkey fryer, start this concoction in even portions in two large pots (with covers) that you can later combine together after reducing for about an hour – this is what I often end up doing. You’ll also need quite a shopping cart.
The Goods
Begin with the veggies
- 3 large onions – I’ve also done 4-5 small ones. I like to include one red, one yellow, and one white for effect.
- 4 large green peppers. Can also substitute other colored peppers for effect (but more $$). The heat does not come from the peppers.
- 7 gloves of garlic (one bulb should do fine).
- About a half cup of cilantro (One bunch from the store will easily do).
- 66 oz of canned diced tomatoes – they simmer well. I’ve tried stewed tomatoes and they don’t work as well. This is basically two large cans (26 oz) and one small can (14.5 oz).
- Two cans (32 oz) pinto beans.
- Two cans (32 oz) black beans.
- Two cans (32 oz) kidney beans.
The meat
- 4 lbs of a relatively lean steak – I recommend bottom round, london broil, or even sirloin if you feel like getting fancy. Stay away from the crappy pre-cubed ‘stewing meat’ you’ll often see. That’s probably the crap that fell on the floor.
- This could also become a vegetarian dish if you simply 1) do not put in the meat, thereby removing all flavor and 2) rip out your canine incisor teeth. Then just kill yourself. Don’t do that. I didn’t mean that. This cannot become a vegetarian dish. At least – if you’re going to make it a vegetarian chili – don’t tell me.
The good stuff
- One beer – preferably a darker beer. I try to use a stout or porter. This not only adds liquid, but adds a bit of complex flavor to the mix. Save a few more for yourself.
- Four tablespoons ground Cumin – try to get this fresh from a bulk spice store.
- 6 tablespoons of Chili Powder.
- 2 1/2 teaspoons kosher salt.
- 2 teaspoons freshly ground black pepper.
- 3 tablespoons of balsamic vinegar.
- Crushed red pepper (to taste).
After you’ve dislocated your shoulders carrying all these goodies home, get your sharpest knife…and sharpen it. Then sharpen it again.
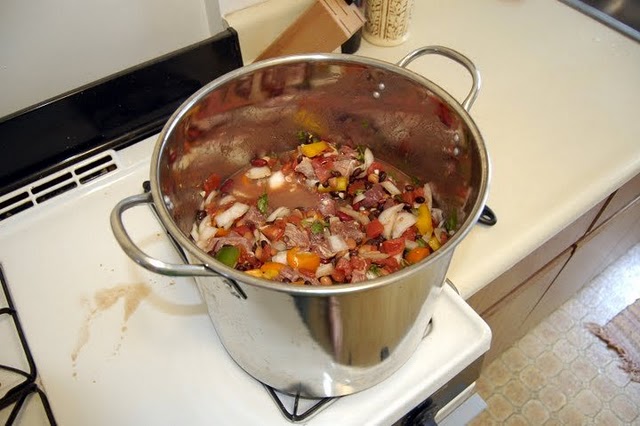
Colors start out vibrant...
The Process
- Chop meat into 0.75 – 1 inch cubes (nice and chunky)! Remove as much fat as possible – the worst is running into a nasty hunk of fat in the middle of your chili. Throw it all in the bottom of the pot.
- Roughly chop onions and peppers (remove pepper seeds and ribs) and combine in pot.
- Finely chop cilantro – about half a bunch – and add in pot.
- Empty all beans from cans into strainer and wash thoroughly. Add to pot.
- Empty canned tomatoes into pot.
- Crush (or very finely chop) garlic and add to pot.
- Add beer to the pot.
- Turn on your burner to medium and mix pot thoroughly. Put pot cover about 3/4 of the way on.
- Cook on medium for 1 hour, mixing thoroughly every 10 minutes.
- Add balsamic vinegar and cook for another 2 hours. If you’ve got more than one pot, determine when you can combine into one big pot after all the vegetable juices have reduced.
- Add all spices, dust the top of the chili with cracked red pepper and mix thoroughly. The red pepper is where virtually all of the chili’s heat comes from – add this slowly and to taste. DON’T RUIN A GOOD CHILI BY DUMPING IN TOO MUCH RED PEPPER! Adding spices at the end of cooking makes sure that, 1) the spices don’t burn – this happened during an early batch and tastes gross, 2) that the spices don’t change flavor – sitting over 3 hours on a flame can change how cumin tastes, and 3) that you can control the level of heat in your chili.
- Remove from heat.
- Serve that summabitch piping hot – sprinkle cheese and sour cream on top. Add a tortilla on top for effect.
- Enjoy the best chili ever.
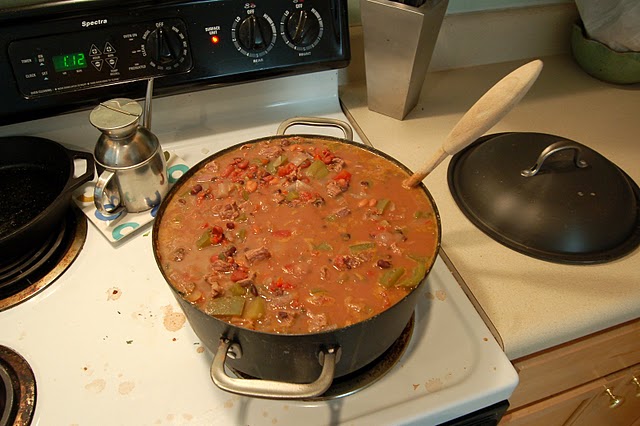
...and dull during cooking.
So you’ll start out with a huge bubbling pot…
See what I mean about combining the two pots together? Gets a little difficult with only one big pot.
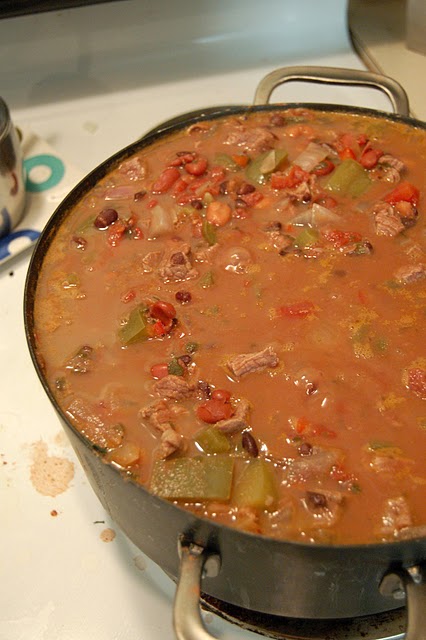
Which will reduce significantly over the course of 3+ hours…
Here you can see the reduction within the chili
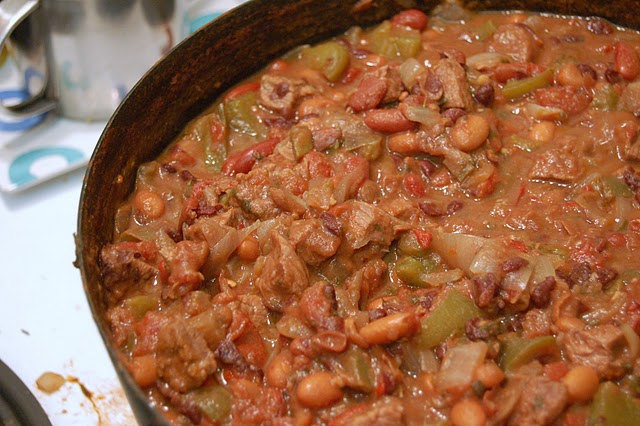
Finally, you’ll be left with a warm, bubbly pot of hot chili goodness.
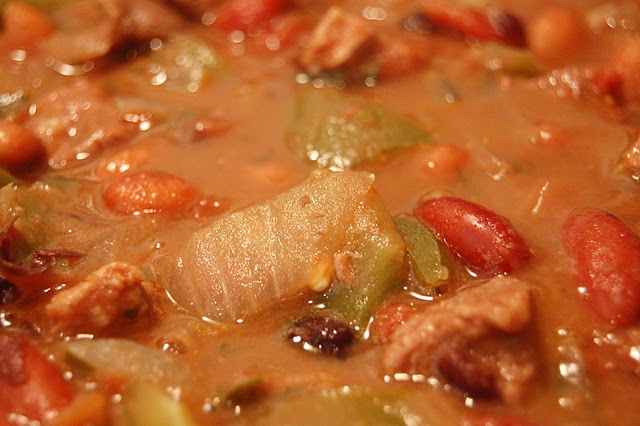
Don't worry about browning meat before hand - it'll all cook together over 3 hours. Mmmmm.
Hope you all enjoy! Please leave your comments and ideas for improvements!

The taste of sweet sweet victory can be yours! Photo courtesy of Jeff Engstrom - again, one great photographer/urban planner/gentleman/scholar/husband to an award winning teacher (Shoutout Karoliina!): http://www.flickr.com/photos/antiapathy/257660605/