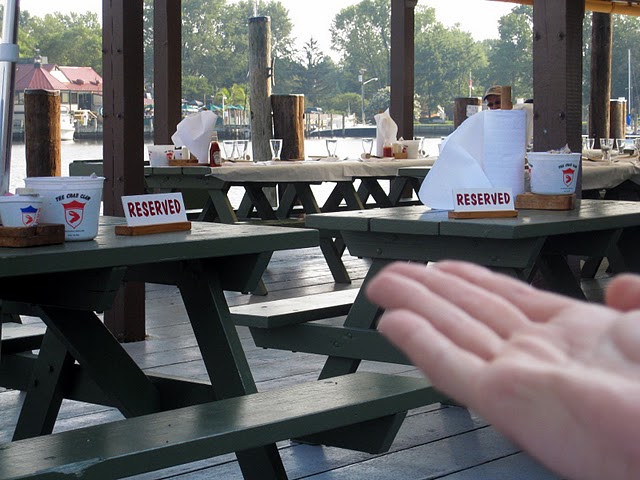
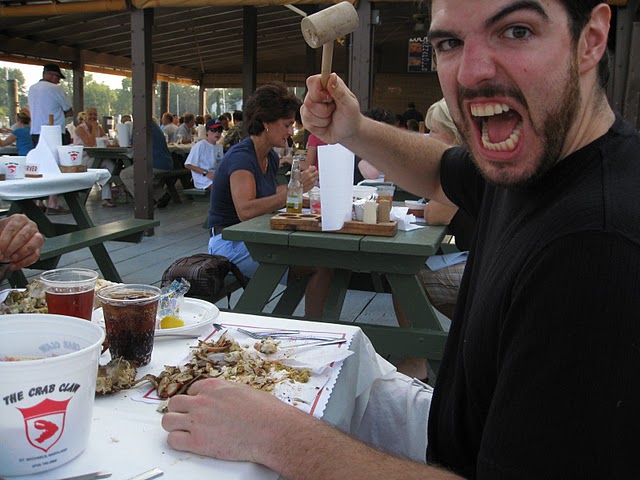
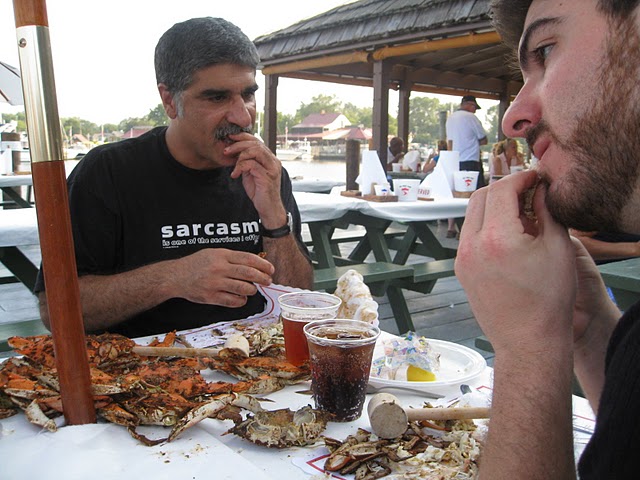
Behold – the Crab Claw! An entire roll of paper towels will be absolutely necessary during your quest for sweet, sweet crab meat!
I went to the Crab Claw with my girlfriend and her family earlier this summer. My first time at a crab shack. Yes, yes – well don’t blame me – I grew up a vegetarian!
Holy smokes – a first time crab shack experience. On camera! It was one of those “Ah-ha” moments – like when I first tried Guacamole. Green and gooey – almost designed to repulse children. Then the guy made it tableside and voila – Todd was hooked.
The along came the crab. The delicious Maryland Blue Crab’s at the Crab Claw – my thought process went something like this:
“Wow – this place is a bunch of picnic tables and bars on a dock.”
“I never knew that I could love smashing my food open in a man-fest of barbarian crustacean destruction.”
“Hmm…there sure are a lot of seagulls around here. The temptation to misuse this crab mallot is growing…”
“Holy CRAB this is good! HAha – get it? ehhh….. I need another beer”
“Are you going to eat that last one? Really? Well…I’ll fight you for it. I swear to God I will fight you for that Crab, sir!”
Anger growing! Growing!! GROWING!
So half the time my girlfriend’s family is looking at me like I’m crazy.
Now that I think about it, maybe I did go a bit crazy. After all – I was covered in bits of shell, Blue crab goo (ewwww), clarified butter, and my own drool. One roll of paper towels is never enough…
Daze of crab eating glory….
The Crab Claw
304 Mill Street at Navy Point
Saint Michaels, MD 21663
410-745-2900
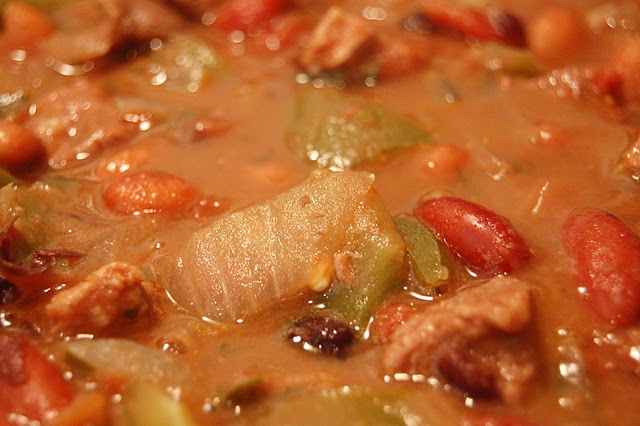
Award Winning Chili! Photo courtesy of Jeff Engstrom, one awesome photographer: Jeff Engstrom is one awesome photographer: http://www.flickr.com/photos/antiapathy/257660605/
So a few days ago I posted a little about the glory of competitive chili making. Today I am posting our recipe – Todd and Matt’s Chili (prep time: 1:15, cook time: 3 hours).
To begin with, you’ll need a super sharp knife, and a very, very large pot (preferably a turkey fryer). If you don’t have a turkey fryer, start this concoction in even portions in two large pots (with covers) that you can later combine together after reducing for about an hour – this is what I often end up doing. You’ll also need quite a shopping cart.
The Goods
Begin with the veggies
3 large onions – I’ve also done 4-5 small ones. I like to include one red, one yellow, and one white for effect.
4 large green peppers. Can also substitute other colored peppers for effect (but more $$). The heat does not come from the peppers.
7 gloves of garlic (one bulb should do fine).
About a half cup of cilantro (One bunch from the store will easily do).
66 oz of canned diced tomatoes – they simmer well. I’ve tried stewed tomatoes and they don’t work as well. This is basically two large cans (26 oz) and one small can (14.5 oz).
Two cans (32 oz) pinto beans.
Two cans (32 oz) black beans.
Two cans (32 oz) kidney beans.
The meat
4 lbs of a relatively lean steak – I recommend bottom round, london broil, or even sirloin if you feel like getting fancy. Stay away from the crappy pre-cubed ‘stewing meat’ you’ll often see. That’s probably the crap that fell on the floor.
This could also become a vegetarian dish if you simply 1) do not put in the meat, thereby removing all flavor and 2) rip out your canine incisor teeth. Then just kill yourself. Don’t do that. I didn’t mean that. This cannot become a vegetarian dish. At least – if you’re going to make it a vegetarian chili – don’t tell me.
The good stuff
One beer – preferably a darker beer. I try to use a stout or porter. This not only adds liquid, but adds a bit of complex flavor to the mix. Save a few more for yourself.
Four tablespoons ground Cumin – try to get this fresh from a bulk spice store.
6 tablespoons of Chili Powder.
2 1/2 teaspoons kosher salt.
2 teaspoons freshly ground black pepper.
3 tablespoons of balsamic vinegar.
Crushed red pepper (to taste).
After you’ve dislocated your shoulders carrying all these goodies home, get your sharpest knife…and sharpen it. Then sharpen it again.
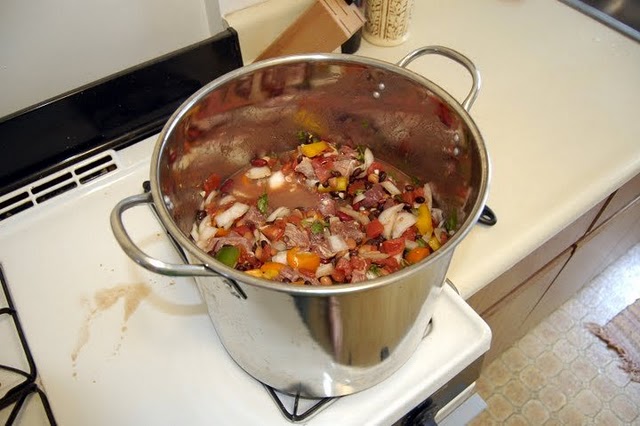
Colors start out vibrant…
The Process
Chop meat into 0.75 – 1 inch cubes (nice and chunky)! Remove as much fat as possible – the worst is running into a nasty hunk of fat in the middle of your chili. Throw it all in the bottom of the pot.
Roughly chop onions and peppers (remove pepper seeds and ribs) and combine in pot.
Finely chop cilantro – about half a bunch – and add in pot.
Empty all beans from cans into strainer and wash thoroughly. Add to pot.
Empty canned tomatoes into pot.
Crush (or very finely chop) garlic and add to pot.
Add beer to the pot.
Turn on your burner to medium and mix pot thoroughly. Put pot cover about 3/4 of the way on.
Cook on medium for 1 hour, mixing thoroughly every 10 minutes.
Add balsamic vinegar and cook for another 2 hours. If you’ve got more than one pot, determine when you can combine into one big pot after all the vegetable juices have reduced.
Add all spices, dust the top of the chili with cracked red pepper and mix thoroughly. The red pepper is where virtually all of the chili’s heat comes from – add this slowly and to taste. DON’T RUIN A GOOD CHILI BY DUMPING IN TOO MUCH RED PEPPER! Adding spices at the end of cooking makes sure that, 1) the spices don’t burn – this happened during an early batch and tastes gross, 2) that the spices don’t change flavor – sitting over 3 hours on a flame can change how cumin tastes, and 3) that you can control the level of heat in your chili.
Remove from heat.
Serve that summabitch piping hot – sprinkle cheese and sour cream on top. Add a tortilla on top for effect.
Enjoy the best chili ever.
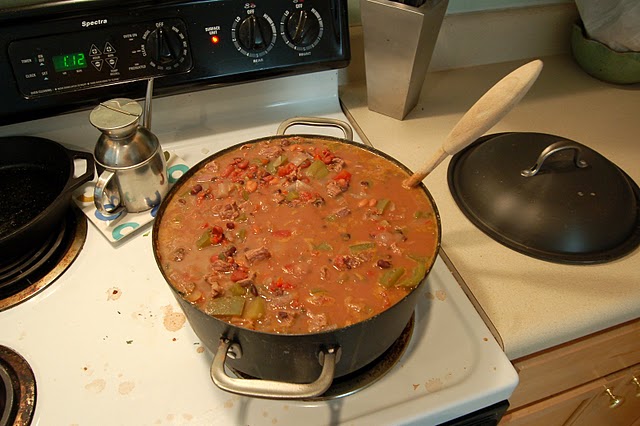
…and dull during cooking.
So you’ll start out with a huge bubbling pot…
See what I mean about combining the two pots together? Gets a little difficult with only one big pot.
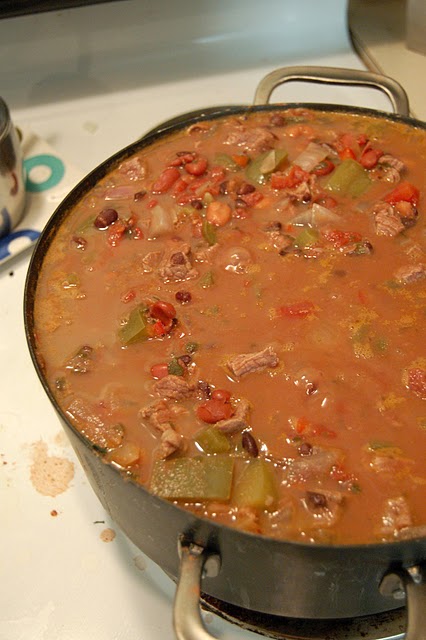
Which will reduce significantly over the course of 3+ hours…
Here you can see the reduction within the chili
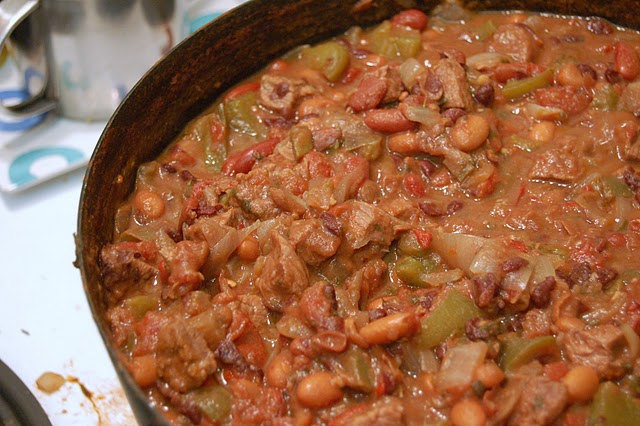
Finally, you’ll be left with a warm, bubbly pot of hot chili goodness.
Don't worry about browning meat before hand – it'll all cook together over 3 hours. Mmmmm.
Hope you all enjoy! Please leave your comments and ideas for improvements!
The taste of sweet sweet victory can be yours! Photo courtesy of Jeff Engstrom – again, one great photographer/urban planner/gentleman/scholar/husband to an award winning teacher (Shoutout Karoliina!): http://www.flickr.com/photos/antiapathy/257660605/
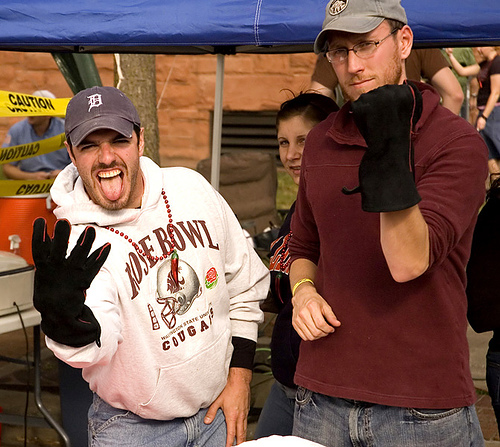
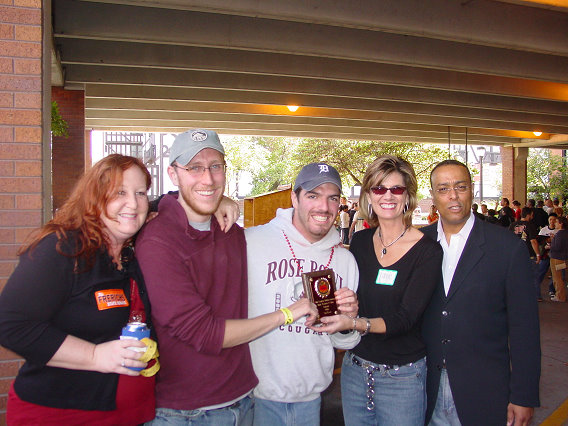
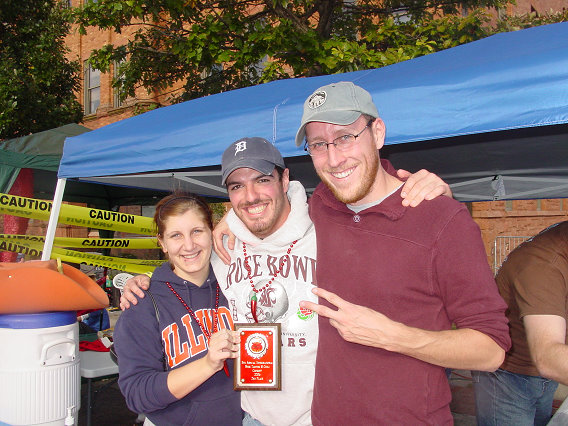
2nd Place, 2006 Central Illinois International Chili Championship! Matt (in Red) and Todd (in Tigers hat) along with Chili judges and first place winner (on far left). It was rigged!
It’s about time I fessed up. Back in 2006, my friend Matt and I entered the Urbana Beer and Chili Festival (Urbana, IL – my old stompin’ grounds) in an attempt to unseat the hitherto unbeaten Champaign County Democrats. Otherwise known as the Central Illinois International Chili Championship, this competition invites amateur and restaurant competitors to duke it out in the greatest of drinking and chili eating venues – the downtown Urbana, IL parking garage. Set on a windy, mid-fall Saturday, this environment adds the perfect garnishes to the classic, fall football weekend: Chili and lot and lots of beer.
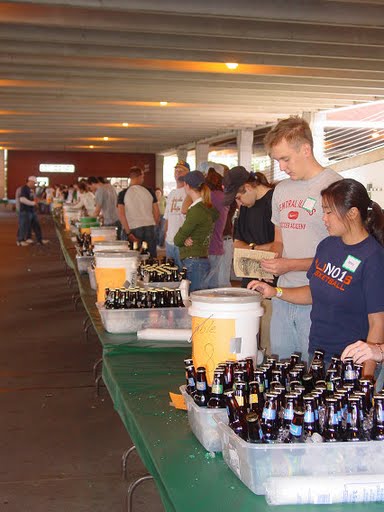
College students handing out beer samples to their friends and taking purchased tickets. If that isn't a conflict of interest, then I don't know what is
For those of you poor souls who haven’t attended a Chili cookoff, they typically begin with competitors checking in, setting up their booths, passing health inspection, and finally – making their chili in a set period of time. We had 4 hours to prep and cook, in which we were to make 4 gallons of chili for attendees to sample along with several hundred types of beer bought with donations from local business. A portion of the gate went to charity (it’s good to give back! – name that movie quote).
Although I’m not bitter…*whatsoever*, the competition functions in the following manner, year after year after year: 1) Competitors make their chili. 2) Around 1000 people sample the chili. The chilis that run out quickly are clearly the crowd favorites, since everyone makes roughly the same amount. 3) The judges then go and pick the best chilis. 4) At this point, the judges write the names of the best chilis on a piece of paper. 5) That piece of paper is then set on fire, after which the judges piss on the will of the people, and again give the victory to the Champaign County Democrats (the two party system? “The after party is the one you really want to attend”). Year after year, people! For Godsake, their chili tastes like its been blended! BLENDED!! Who does that?! We ran out of our chili in like 2 hours, and they were still trying to unload their mush practically until dawn! Anyway, we came in Second. Booo! Now that I got that out of my system…
Making good chili, especially 4 gallons of chili, is a long process. First, you’ve got to practice – you must refine your recipe. In the case of chili, this can be expensive, depending on the type of meat you want to use. We got ours from the University of Illinois meat lab. That’s right – for those of you who live in the U.S. near land grant schools (state colleges that have agriculture programs), many animal science programs have meat labs where they train students to butcher. This is an awesome place to get a rediculous amount of meat for cheap.
Sometimes, the word “ridiculous” can be relative. For the competition, we got around 16 pounds of bottom round steak. 16 pounds – that’s 256 oz of delicious steak. Even Joey Chestnut couldn’t put that down. Only problem – it came somewhat frozen.
Todd’s Chili Lesson #1: DO NOT try to cut 16 pounds of slightly frozen steak into 1 inch cubes with a dull knife. Or any kind of knife. Just throw your hand in front of a Chuck Norris roundhouse kick – it will happen faster and feel the same.
My recipe [which I will reveal for the first time to the world in a future post – so stay tuned!], also calls for a lot of diced vegetables. During a Chili competition, when many groups quadruple (or more) their normal recipe sizes, this means a LOT of diced vegetables. When you’re in an outdoor booth with crapola, dull Ikea knives…surrounded by shit talking competitors…with a huge cooler of beer waiting for you after prep – dicing is no longer fun. At all.
Todd’s Chili Lesson #2: Find a restaurant supply store and purchase bagged, pre-diced vegetables. This is usually still legit to use in the competition – you can’t pre-cut any veggies on your own and bring them in your own bag, but you can bring pre-cut veggies in a package from a store…damn health inspectors. Hatred is crying into the blisters you got from dicing veggies, while watching (out of your one, remaining good eye) the guy next door slowly pour a giant sack of perfectly diced onion into his Chili, as he enjoys a tall, cool Budweiser.
Now that we’ve prepped the Chili – it’s time to get cookin’. At our competition, we had to bring our own cooking devices. As we were both poor college students at the time, we bought 3 portable electric burners off of Amazon.com (3 massive pots=about 4 gallons). Many of the characters we were competing against simply brought turkey fryers and a few propane tanks. We later realized that those people were very, very, very smart. That’s right: Competitors = Smart. Todd = Dumb.
Todd’s Chili Lesson #3: Test your cooking devices. Having an electric burner is actually a fairly smart idea. You can leave it on for several hours without having propane problems. It’s also a really really cheap alternative. HOWEVER – be sure to understand the electrical network on which your burners will rely. We found out about 15 minutes into cooking that two of our burners were not heating up enough. We were basically maxing out the system. That’s right – the Chili competition was reliant on TWO circuits for our entire section. Whoops! Got it figured out, but it killed our momentum, our confidence, and our buzz. Would have helped to know more ahead of time.
In the end, the competition went incredibly well. After our few preparation hiccups, we got things cooking and our well devised recipe and practice preparations served us well. Have confidence in your burners. Chili has to be a certain temperature to be served to the public. We spent the first hour worrying if we could even get it hot enough to serve – the electrical problem didn’t help! After things heated up, we were almost worried that our chili would get TOO hot. Things might have been worse if we hadn’t been cooling off with a steady stream of liquid anxiety treatments…
Todd’s Chili Lesson #4: Bring ample libations. You’re cooking chili, not curing polio. If you don’t have enough confidence in your chili that you can’t cook it slightly fuzzy faced, then you just haven’t done your homework. You let down yourself, your competitors, and most of all…your Chili.
The final lesson in all of this – it’s all in the marketing. Give your chili a personality. Give it a brand! Make it unique and people will want to come to your booth to try it. If they like it, they will make their friends come and try it too. And, as we all know – after everyone has 2 or 3 or 8 beers in them, they will certainly want to try a lot more. This gives us our final lesson:
Todd’s Chili Lesson #5: Decorate! Decorate your booth, decorate yourself. We did not do this. After quickly following lesson #4, we might have THOUGHT we decorated (liquid confidence). In reality, however, we certainly did not.
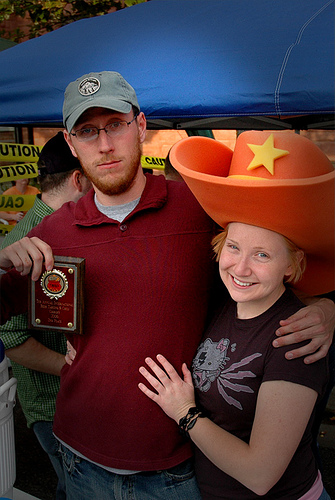
Second place team. Other than our award winning personalities, we brought no decorations. You must give your Chili a persona!
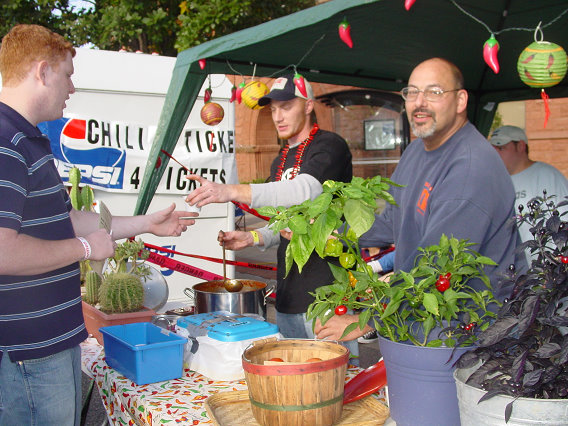
This sore sight contrasts heavily with the third place team (also people’s choice winners) who really justified their decorations by making one of the spiciest chilis that I’ve ever tasted. They were also right next to us, which is why there is all that caution tape in the background of our photo. Brilliant!
Third place team. Personality, decorations (even brought chili plants!), and one hell of a spicy chili! Unfortunately, this team also actually blended their chili – something that was strangely uncomfortable to watch. Maybe that's why their booth was wrapped in caution tape…